

Game of Thrones: Kingsroad Casterly Rock Wanted Notice 3 Types Guide
왕좌의 게임 캐스털리록 지역 현상 수배 3종 가이드

On September 30, Game of Thrones: Kingsroad added three new wanted posters in Casterly Rock. Ranging from theft and poisoning to blasphemy, these targets bring a proper slice of local colour to the area.
KookminTree has helpfully mapped out the poster locations and routes to get these bounties underway. Since the final outcome can shift depending on player choices, the route outlined here isn't the only way to skin a cat. If you fancy checking out previous Casterly Rock bounty routes as well, take a gander at the link below.
※ [Tips] A complete guide to bounties, treasure chests, and collectibles in Casterly Rock [Link]
'Johanna', who pinched the Spicer family heirloom
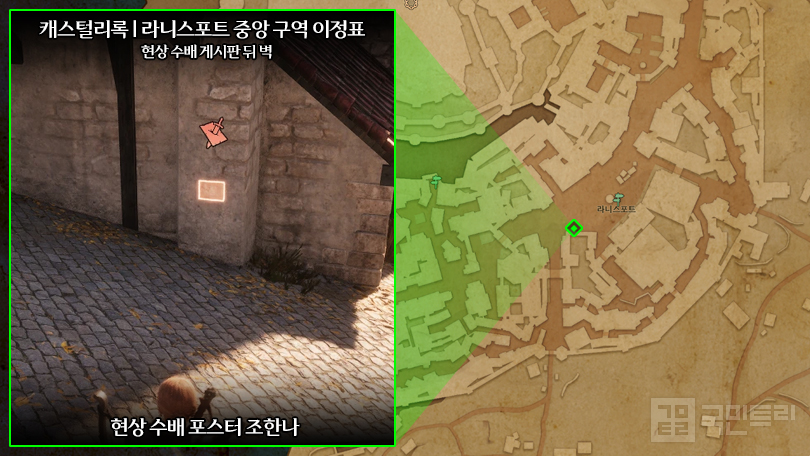
Johanna has a bounty on their head for allegedly stealing an heirloom belonging to the Spicer family. The poster can be found on the wall opposite the Casterly Rock bounty manager, and digging into the case will reveal the actual truth of the matter. At the end, a dialogue choice pops up with Johanna, and the writer chose to let the suspect go.
'Raglan', the herbalist who allegedly poisoned two children
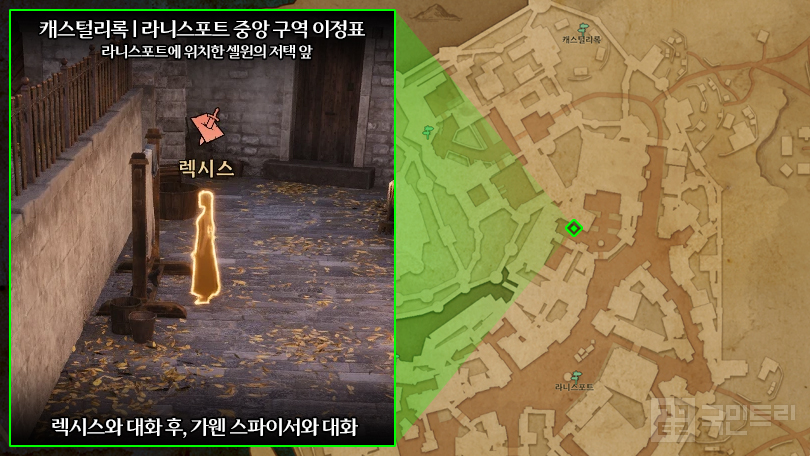
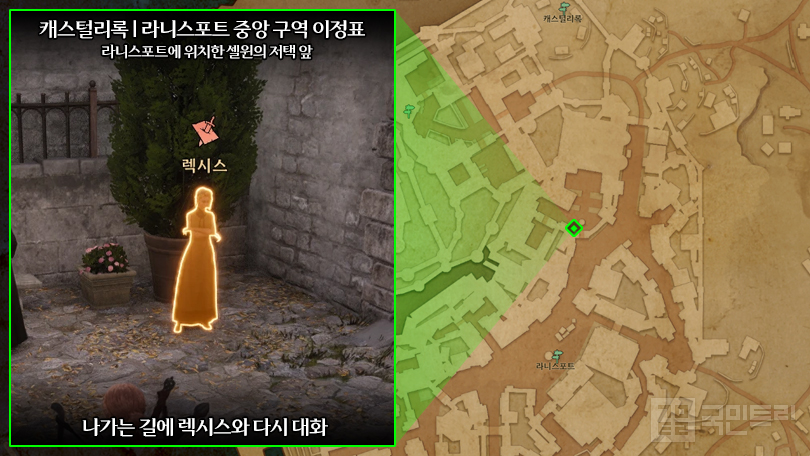
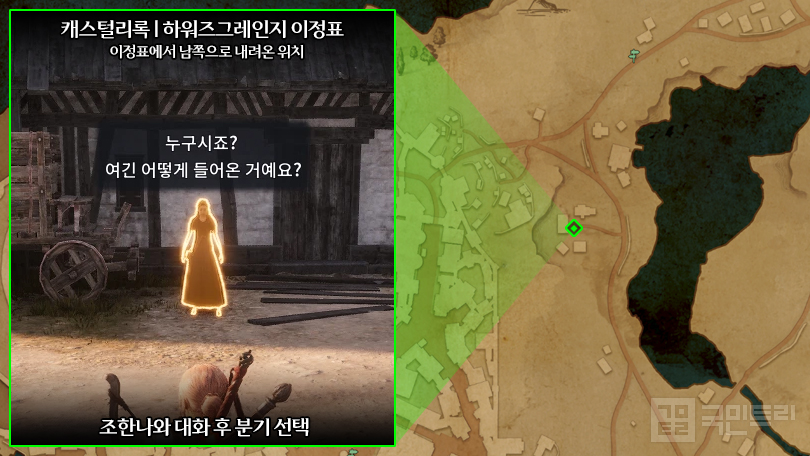
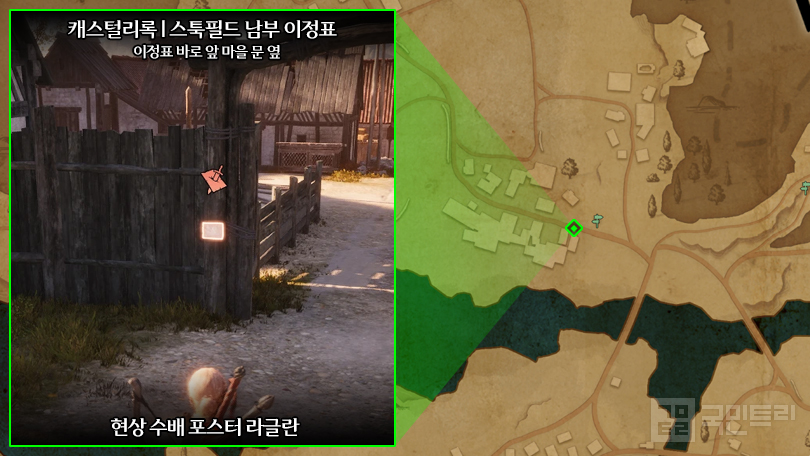
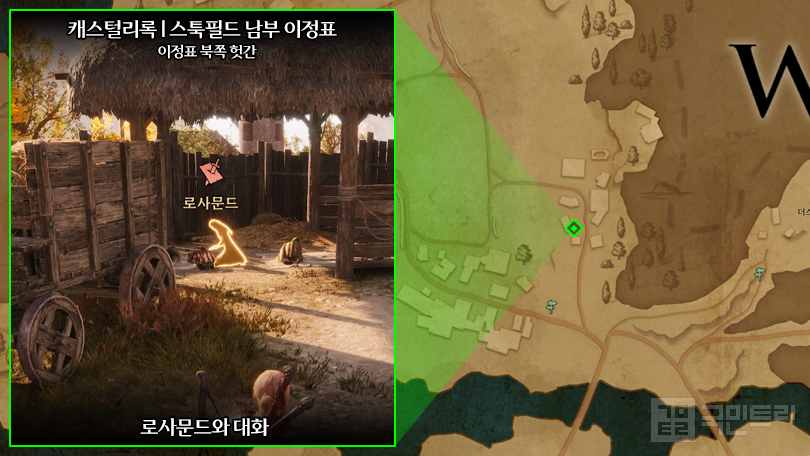
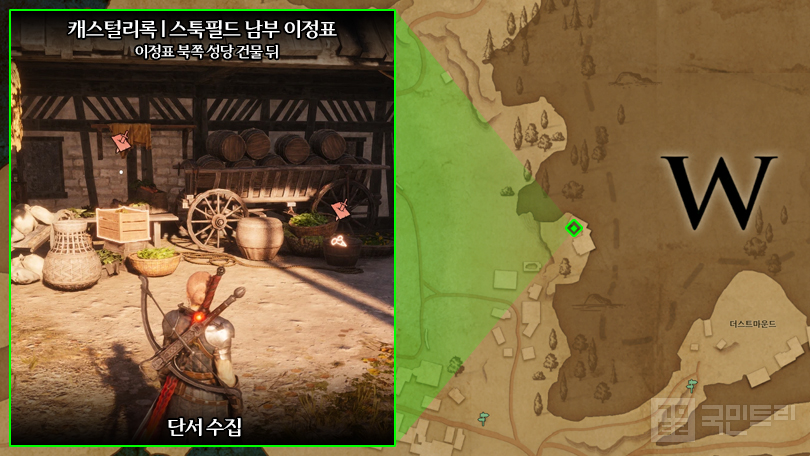
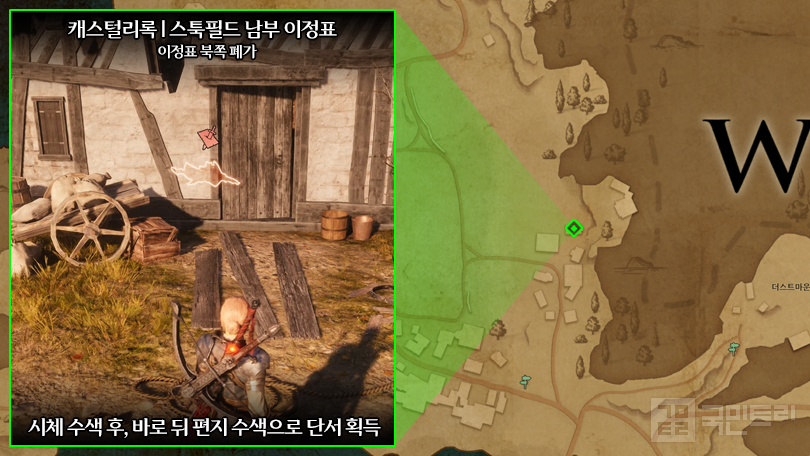
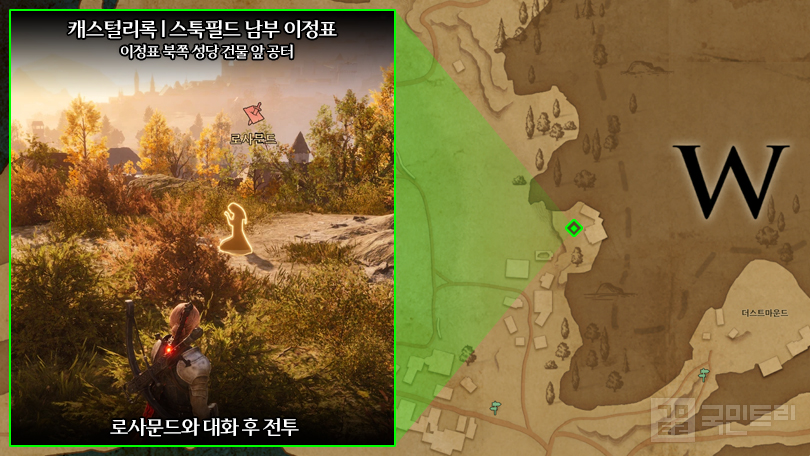
Raglan is a herbalist wanted for poisoning a pair of youngsters, their crimes brought to light by Sister Rosamund before going into hiding. The poster sits right in front of the southern signpost in Stookfield, with the rest of the quest playing out around the Stookfield area. Much like Johanna mentioned earlier, Raglan is actually framed. Uncover the real truth by playing through the quest yourself.
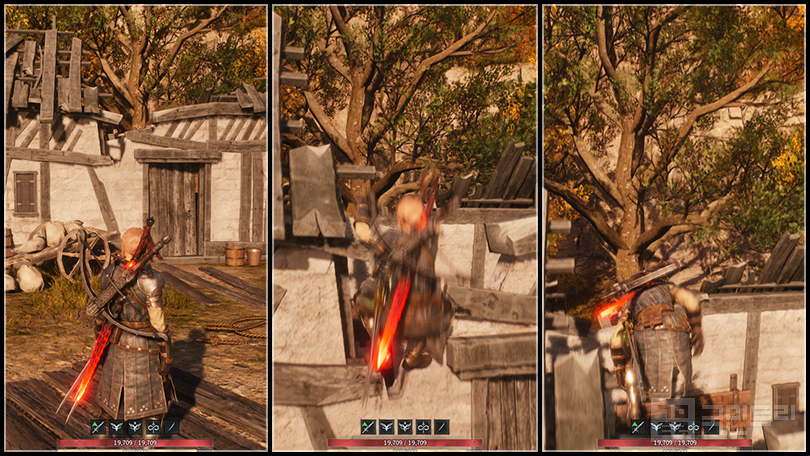
As a quick heads-up, there's a section where you need to sneak into a ruined cottage. You can climb up a ladder around the back, but it's much easier to make use of the newly added 'ledge grab' feature. Simply jump straight ahead from the cart in front of the derelict building to easily scale the wall.
'Herock', the blasphemer
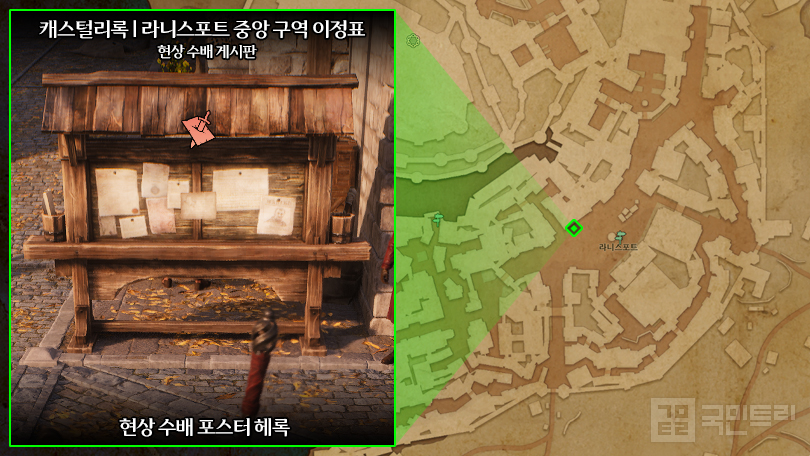
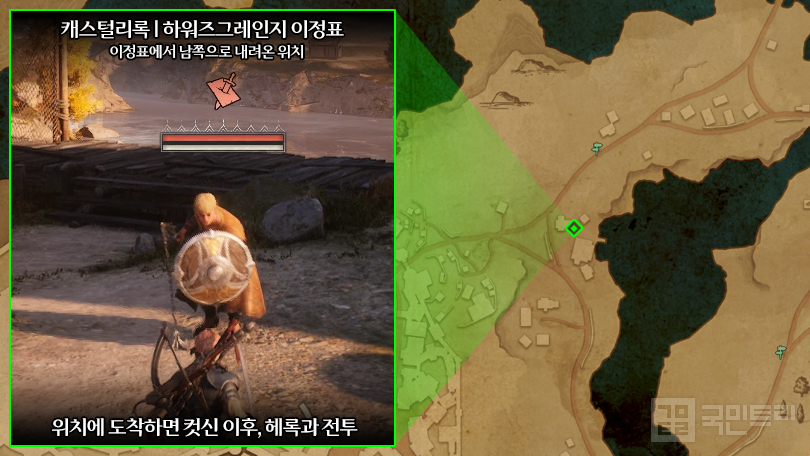
Unlike the previous bounties who were poor souls framed by conspiracies, Herock is genuinely guilty of their crimes. You can spot the poster on the bulletin board right next to the Casterly Rock bounty manager. Tracking Herock down reveals someone insulting the Mother and stirring up the locals. By the way, Herock is an Elite-tier threat, so top up those healing potions before jumping into the fray if gear isn't quite up to snuff.
9월 30일, ‘왕좌의 게임: 킹스로드’가 캐스털리록의 현상 수배 3종을 추가했다. 도둑질, 독살, 신성 모독 등 다양한 혐의로 현상 수배되었으며, 각기 다른 방식으로 캐스털리록의 분위기를 전달한다.
국민트리는 신규 현상 수배를 시작할 수 있는 포스터 위치 및 진행 경로를 정리했다. 유저 선택에 따라 현상 수배 완료 방법이 달라질 수 있어, 본문의 경로가 정답은 아니다. 아울러 캐스털리록의 이전 현상 수배 경로가 궁금하다면 아래 링크를 참고하자.
※ [왕좌의 게임 꿀팁] ‘캐스털리록’ 현상범·보물상자 등 수집품 총정리 [링크]
스파이서 가문의 가보를 훔친 ‘조한나’
조한나는 스파이서 가문의 가보를 훔쳤다는 혐의로 수배가 걸렸다. 캐스털리록 현상 수배 관리인 맞은편 벽에 포스터가 있고, 사건의 실상을 파헤치면 진실을 확인할 수 있다. 마지막에는 조한나와의 대화에서 분기를 선택할 수 있는데, 필자는 놓아주는 방향으로 선택했다.
두 아이를 독살한 ‘라글란’
두 아이를 독살한 약초꾼 라글란은 성사 로사문드의 신고로 범행이 들통나 잠적한 범죄자다. 스툭필드 남부 이정표 바로 앞에서 포스터를 확인할 수 있고, 이후 과정은 스톡필드 주변에서 진행한다. 앞서 말한 조한나와 마찬가지로 라글란도 누명을 썼다. 사건의 진상은 직접 진행하면서 확인해 보자.
참고로 중간에 무너진 집에 들어가야 하는 과정이 있다. 집 뒤에 사다리를 타고 들어가도 되지만, 이번에 추가된 기능 ‘렛지 그랩’을 이용해도 편하다. 폐가 앞 수레 위에서 정면으로 뛰어오르면 손쉽게 벽을 타고 올라갈 수 있다.
신성 모독을 저지른 ‘헤록’
앞선 현상 수배범들이 모함이나 음모로 누명을 쓴 피해자였던 것과 달리, 헤록은 본인의 범죄 행위로 수배된 인물이다. 캐스털리록 현상 수배 관리인 바로 옆 게시판에서 포스터를 확인 가능하다. 헤록을 찾아가면 어머니 신을 모독하고 주민을 선동하는 모습을 볼 수 있다. 한편, 헤록은 정예 등급이므로 스펙이 부족하다고 판단되면, 회복 물약을 채워둔 상태로 전투를 진행하자.

-
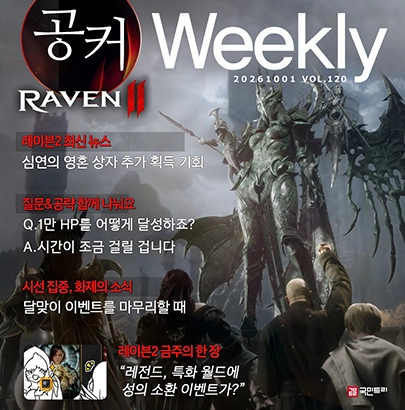 [Weekly Forum Highlight] Raven 2: I want to reach 10,000 HP
-
 Demon Slayer's Tanjiro Joins Seven Knights Re:BIRTH!
-
 [Ancient Citadel Ranking] Raven 2 shows signs of a revenge match in the '5th and 6th groups'
-
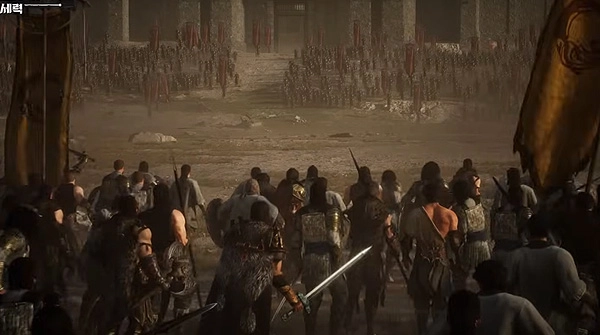 [Arthdal Chronicles: Three Factions] Arthdal New World Season 1 Spotlight: Masters League Finals Matchup

- Golden Joystick Awards Nominees Revealed, Crimson Desert Rises in Two Categories
- [G-STAR 26] CDPR Joins, Full Outline of Participating Companies Revealed
- Optimization Issues Lead to 'Mostly Positive' Steam Reception for Silent Hill: Townfall
- Minecraft reveals 'Ice Cave' featuring frozen zombies and crystals
- GTA 6 Collector's Edition Valued at 550,000 Won Announced Without Game Code
- Celebrating 30th Anniversary, McDonald's Happy Meal 'Pokemon Card' Coming Soon
- Asian Games South Korean Esports Delegation Secures One Gold and One Silver in Fighting Games and Puyo Puyo
- Bungie, which resumed Destiny development, also revives Marathon
- [Today's steam] Ace Combat 8 hits No. 1 in popularity from early play
- Build A Rocket Boy, Developer of MindsEye, Ultimately Files for Bankruptcy





 GAMEMECA GLOBAL SITE